Print Publications: Process
A guide to getting your projects produced on time and within budget, from concept to delivery, and all the steps in between.
- When you’re ready to start a project
- Copy and file preparation
- Send us your files
- The proof stage
- The printing stage
- Delivery
- Image files
- Helpful Hints
Step One: Starting a project
As soon as you're ready to start a project, complete the online Creative Brief. (Please allow 5 - 7 days for Communications request processing). Please allow 6 - 8 weeks lead time for print production projects. The sooner we get your job into the schedule, the more likely we will meet your target date. Contact Dena Matthews dmatthews@wesleyan.edu for more information.
Below is a table of typical projects and the estimated time for design, production, and printing. Please use this as a guide for ideas and scheduling.
| Samples | Min. Time | |
|---|---|---|
| ADS | 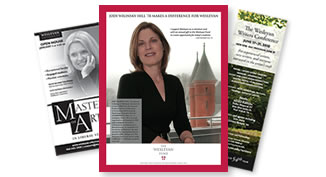 |
10 days |
| POSTERS | 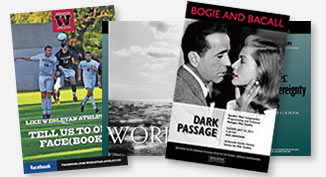 |
20 days |
| INVITATIONS | 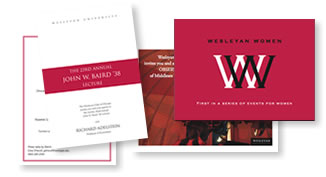 |
20 days |
| POSTCARDS | 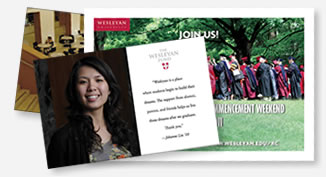 |
20 days |
| SCHEDULES, NEWSLETTERS, AND SMALL CALENDARS |
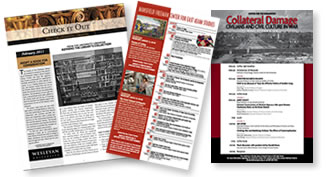 |
30 days |
| SMALL BROCHURES | 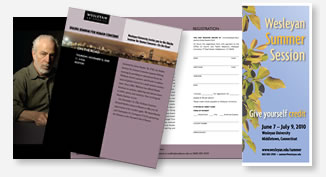 |
30 days |
| FANCY BROCHURES | 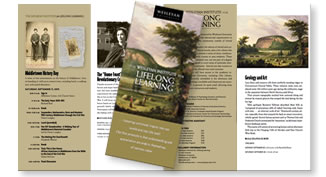 |
35 days |
| SMALL CATALOGS, INFO BOOKS |
 |
40 days |
| LARGE CATALOGS |  |
55 days |
| BRANDING PROJECTS |  |
Varies |
Step Two: Copy and file preparation
Please follow the Wesleyan Style Guide when writing your copy. If you have any style questions that are not answered in the Wesleyan Style Guide, refer to the Chicago Manual of Style, 14th Edition. (Call Dena at 2114 if you have questions)
| Formatting Dos |
|---|
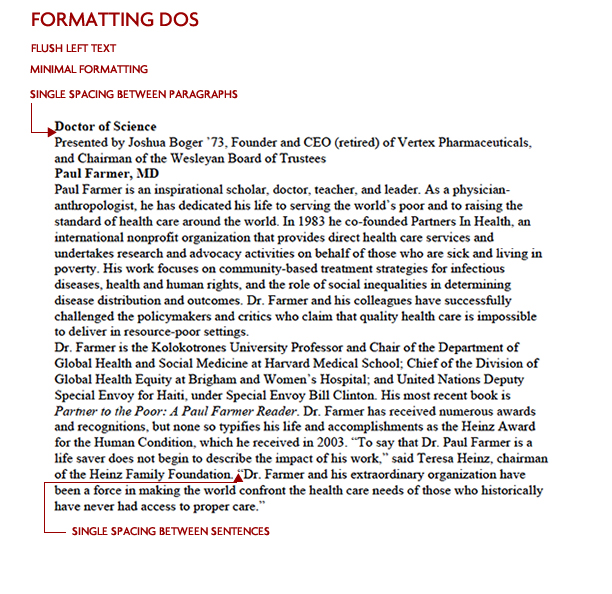 |
|
| Formatting Don’ts |
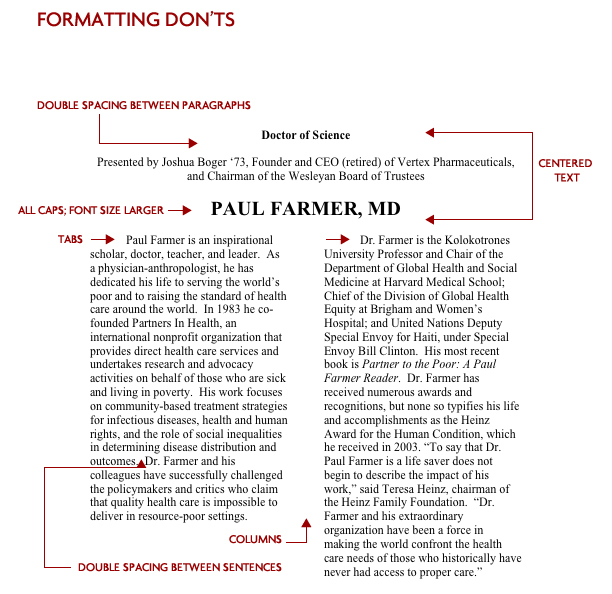 |
|
Step Three: Send us your files
- New Copy: E-mail to Dena (dmatthews@wesleyan.edu) as a Word or Text file. Please send hardcopy over as well.
- Updated publication with changes: Request a comment-enabled PDF for markup. Instructions on how to use the markup tools:
- Open Adobe Acrobat Reader (Free version) or Professional.
- From within Acrobat, go to File, Open and navigate to the file you would like to edit.
- Open the Comments Toolbar by going to View, Toolbars, Comment & Markup. You are now ready to make changes. These will be in the form of notes and mark-ups, similar to those on a hardcopy version. The changes will not take effect right away —they are simply edits in the form of notes.
- TO DELETE TEXT , click the Text Edits tool within the Comment & Markup toolbar (the second from the left). Select the text you would like to delete and hit the delete key. Deleted text looks like this.
- TO ADD OR REPLACE TEXT , use the Text Edits tool within the comment & Markup toolbar. Put the curser where you would like your new text to appear or select the text being replaced. Type in your new text. (A blue box will come up for your text.) Hover your mouse over the insertion point to see your new text. You can also click on the insertion point to bring up the blue box for further editing.
- TO ADD A NOTE , use the Sticky Note tool within the comment & Markup toolbar. Click where you would like your note to appear. Type right into the yellow box that comes up. You can collapse your note by clicking in the upper right-hand-corner of the yellow box and expand it again by double clicking on your sticky-note icon at the insertion point.
- YOU CAN SEE ALL OF YOUR COMMENTS, by opening the Comments Navigation Panel. All the way on the bottom left of your application window, you will see two icons—one of a paperclip and one of two sticky notes. Click the two sticky notes icon to open and collapse the panel.
- WHEN YOU’RE FINISHED , Save and Close.
- Call Dena Matthews x2114 with any questions.
- Updated publication with extensive changes: please email a Word doc and send over hardcopy with the changes highlighted. If you have a copy of your old version, please send it along.
Step Four: The proof stage
- In general you will receive three pdf proofs. These include a preliminary proof (rough draft, may be in galley form), a revised proof (with a more finished feeling), and a final proof. You may also receive a concept proof for some new projects. Please make every effort to return the proofs to us promptly (see your production schedule). If proofs are held up in your office, your delivery date could be postponed and rush charges may be incurred at the print stage.
- Although we proofread most documents, YOU are responsible for accuracy. Review your proofs carefully. Be sure to fact check all information (including dates, indicia information, spelling of names, phone numbers, e-mail addresses, web addresses, and fax numbers).
Step Five: The printing stage
- Once the proof stage is complete and you are 100% happy with the project, we will ask you to sign off on it and we will send it to the printer. It is best not to make any changes after this point.
- When we receive a printer's proof, you will be asked to sign off on that.
- Changes at the printer's proof stage can be costly and can hold up a project. We try our best to have everyone involved look at and return it immediately (same day) to avoid losing press time.
- If you need to make changes to the printer's proof, use a red permanent marker and proofreader's marks.
Step Six: Delivery
Once printed, the job will be delivered to you or to the mail-house that you specify. If all goes according to plan, this will be on or before your projected delivery date. The delivery date on your production schedule does not take mailing (or time at the mailhouse) into account.
Image files
- High res images are around 5x7" at 300 pixels per inch. That equals 1500 x 2100 pixels total. A good rule of thumb is by looking a the file size. High res images are usually 1 megabyte (Mb) or greater.
- If you print the pictures out on regular paper, you can see their size and sharpness. If they aren't sharp, they aren't good candidates for enlargement.
Helpful Hints
- Each job should have one contact person responsible for gathering and funneling all information and is responsible for signing off on proofs.
- Incomplete copy, late copy and/or missing information can delay your project’s projected delivery date--try to have copy as close to complete as possible.
- Files sometimes need a lot of clean up, which takes extra time. Please let us know in advance if you need help writing your copy.
- We can help with images. We have a large and growing database of beautiful Wesleyan photos that can be used for many different publications. Sometimes, though, new images have to be shot. We can arrange a photographer, but if the shot includes students and/or faculty, it will be your responsibility to make those arrangements.
- We will be happy to advise on format, style, and paper.